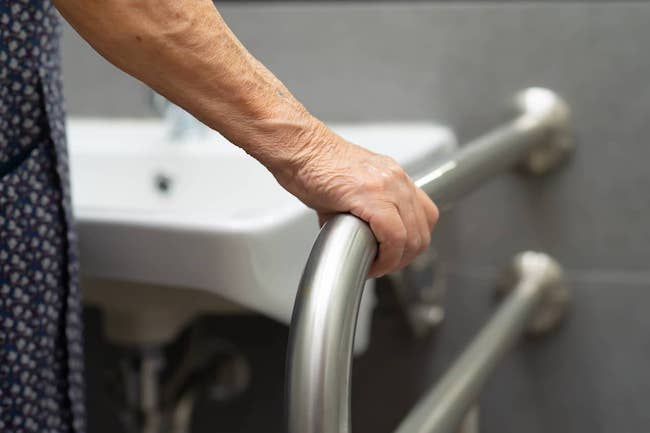
As you lose mobility, you may find yourself having trouble navigating your bathroom. Fortunately, there are many steps you can take to make your bathroom handicap or wheelchair-accessible and ensure utmost safety. Read on to learn the best ways to create a handicap-accessible bathroom.
9 Steps To Creating a Handicap-Accessible Bathroom
Creating a handicap-accessible bathroom may take a bit of time and money, but it’s a worthwhile investment. When you’re ready to upgrade your bathroom, consider the following steps to make it as accessible as possible.
1. Upgrade Lighting Fixtures
Lighting is essential to avoid accidental slips or falls while in the bathroom. While having enough lighting is a great first step, you also need to make sure the lighting is accessible. This may mean switching out your previous lights for motion sensor lighting so switches or pull strings are not an issue. Depending on your specific needs and budget, smart lighting controlled by voice may be another option to consider.
2. Install Grab Bars
Installing grab bars can make your bathroom just a bit more handicap-accessible. Both vertical and horizontal grab bars can be installed beside the toilet or inside a shower. These can provide stability for individuals maneuvering around the bathroom.
3. Update Shower/Bathtub
From a simple update to a whole new installation, updating your shower or bathtub is a must for a handicap-accessible bathroom. Installing a shower chair, creating a walk-in tub, or investing in a bathroom transfer system. The type of shower or bathtub adjustments will vary depending on the level of mobility assistance needed.
4. Lower Sink Height
For those using a wheelchair, the average sink height may be too high. The best option is to lower your sink height. According to the ADA, a wheelchair-accessible bathroom should have a sink no higher than 34 inches. You may also need to remove the cabinetry under your sink to make room for a wheelchair.
5. Mount Toilet
If possible, mounting your toilet to the wall may be an ideal decision. Wall-mounted toilets can free up space and be adjusted to the best height to easily move on and off. A plumber can assist you with customizing the height of your toilet and securely mounting it to the wall.
6. Replace Door
Traditional doors can sometimes be an obstacle in entering a bathroom. Wheelchair-accessible bathrooms may need wider doors. One such option to achieve this is to install a sliding door in place of your existing one. These often offer a wider doorway and are much easier to navigate in a wheelchair.
7. Move Cabinets
In addition to moving the cabinets underneath your sink, other cabinets in your bathroom may need to be lowered. Your current cabinets may be too high for those in a wheelchair to reach. You may also want to consider removing the doors off of cabinets if they do not have a handle for easy opening.
8. Consider Slip-Resistant Flooring
Though it can be a major investment, slip-resistant flooring is a top choice for those prone to falling. These floors can handle the additional water that may come from the shower or bathtub and provide a stable platform for safe movement.
9. Avoid Hazards
The last step in creating a handicap-accessible bathroom is to be mindful of hazards. Don’t leave dirty towels or clothes laying on the floor where a wheelchair may get caught. Place mats or install new flooring that can protect you or your loved one when the floor is wet. These simple habits can make your bathroom a safe space for the entire household.
Make Your Bathroom Handicap Accessible With Amica
At Amica Medical Supply, we understand that bathroom safety is a top priority for you or your loved one. That’s why we have just what you need to create a handicap-accessible bathroom. Find quality shower seats, bath transfer systems, grab bars, removable showerheads, and more from our extensive collection.
Not sure where to start? Give us a call at 1-888-939-0774 to learn more about our stock of bathroom safety products and what might be best for you!


